Please contact the SIF Manager prior to sample preparation to discuss particulars about your sample type.
Preparation for EA and EA-IRMS analyses
Proper preparation is essential for accurate analyses. Some tips:
1. Drying
Freeze-dry or oven-dry samples to remove moisture.
Thoroughly dried samples yield accurate weights and will not damage or decrease the lifespan of EA components.
2. Homogenization
Grind samples into a powder, if possible, to thoroughly mix the sample.
Grinding can be performed manually with a mortar and pestle, or mechanically with Wiley or ball mills if samples are tough to break down.
3. Weighing
For elemental content analysis, accurate weights must be obtained by using a microbalance (0.001 mg) or an analytical balance that goes to 0.00001 g.
For analysis where only isotope data are of interest, samples can be weighed less accurately on a regular analytical balance (0.0001 g or 0.00001 g).
4. Other procedures
If samples must be acidified or fumigated for the removal of carbonates or for other experimental purposes, please ensure that the samples are thoroughly dried before packing the samples, otherwise analysis will be denied.
5. Packing
Use capsules of tin (most common) or silver (for direct acidification). Aluminum capsules will not work.
Pack samples into a tight ball with a maximum dimension of 7 mm. Maximum sample weights depend on the sample material.
Ensure that there are no flaps or sharp corners jutting out that can get caught in the autosampler mechanism.
Sample capsules that have broken during the packaging process must be redone.
EA Detection Limits
Lower limit: 15 µg N and 5 µg C (better results at higher concentrations).
For typical organic material, provide 2 – 5 mg of raw, dried sample for %N and C determination.
For mineral-rich soils and sediments, provide 15 – 30 mg of dry sample.
Some testing may be required to find the optimal sample mass to use.
IRMS Detection Limits
Provide between 60 – 700 µg N and 150 – 12000 µg C for samples with a high C:N ratio (diluter will be used for C).
For samples with a low C:N ratio, provide 20 – 600 µg C (no diluter used). A simple equation to determine the amount of sample to weigh for the IRMS:
mg of sample needed for IRMS = µg of element needed x (1 mg/1000 µg) x (100/wt. % of element in sample)
For example, if you have a sample that contains 40% C, and you provide 1500 µg of C for the IRMS, then the amount of sample you need to weigh is 3.75 mg. If you want to simultaneously analyze for N, your sample has 2% N and you provide 100 µg of N for the IRMS, then you will need to prepare a sample that weighs 5 mg. That will be sufficient for both N and C analyses.
For samples with abundant N or very low N (e.g., <0.2%N), please notify the SIF Manager, as test trials of your samples may be needed. If the N and C contents of your samples are not known, analyzing the samples for %N and %C first is recommended before samples are prepared for isotope analysis.

Sample capsules for elemental analysis

Packaged sample capsules in sample plate
Preparation for GC-C-IRMS analysis (liquid)
1. Pre-preparation
Several steps are required for the accurate compound-specific analysis of PLFAs and NLFAs. The fatty acids must be extracted from the original sample material (e.g., soil), and the non-volatile organic compounds derivatized by transesterification or other methods to make the compounds volatile for improved chromatographic separation in the GC. Typical total soil PLFA biomass concentration is 100-200 nmol/g, so standard reference materials should be prepared to bracket and/or match that concentration.
Users are expected to prepare their own samples and/or standards (internal and/or external) and to ensure that the analyte concentration within the final solutions is of the correct range or dilution prior to analysis (to prevent detector overload). For example, a 1:20 BAME to hexane dilution is acceptable. Tip: samples can be prepared using standard protocols for GC-MS analysis. If the peak heights work for GC-MS, they will be fine for GC-IRMS.
For the extraction and preparation of non-routine types of materials, please contact the SIF Manager. For non-routine sample types, extensive method development and coordination of sample preparation with instrument time will be needed. A method development fee will apply.
2. Pre-analysis
Immediately prior to analysis, extracted samples are typically dissolved in a final matrix of hexane and transferred to a standard-volume, muffle-furnaced, amber GC vial with insert and secured with a septum cap (screw-on or crimp cap acceptable). Preparation of initial test samples may be requested by the SIF Manager to determine the best signal output and sample concentrations/volumes required prior to the preparation and analysis of real samples. Generally 100 µL of final diluted solution is adequate for short sample runs (≤ 12 hours based on a 1 sample/hr run); 200 µL is better for long sample runs (up to 24 samples) to prevent evaporation.
For researchers submitting samples from off-campus, we accept only samples of dried, extracted fatty acids that are not dissolved in hexane. Once the samples have been received, they will be dissolved in hexane, diluted as per user instructions and transferred to GC vials immediately prior to analysis. Technician costs will apply.
For short videos on sample preparation and analysis, go to http://soilweb.landfood.ubc.ca/biology/en/sampling-and-analyses/lab-methods.

GC vials with inserts and crimp septum caps for liquid analysis
Preparation for GC-IRMS analysis (CO2 gas)
1. CO2 gas samples collected in the field or in the lab can be injected into Exetainer vials, gas bags or another gas-tight container of your choice.
2. If using Exetainer vials, overpressure the vials by injecting a volume of sample gas that is up to two times the vial volume. This prevents outside atmospheric gases from entering the vials.
3. Vials can be stored (septum end down in water) for a couple of weeks prior to analysis. Gas bags can hold gas for 48 hours. The sooner an analysis can be scheduled after gas collection, the better, therefore, proper coordination for instrument time is required.
4. Custom gas sample collection apparatus must be tested first before analysis can take place.
For analysis, a suitable volume (0.2 to 1 mL) of gas is manually injected into the GC inlet using a gas-tight syringe. Testing may be required to determine the most optimal injection volume. Up to 4 sample injections can be made per 10-minute run.

Exetainer vials for gas GC analysis
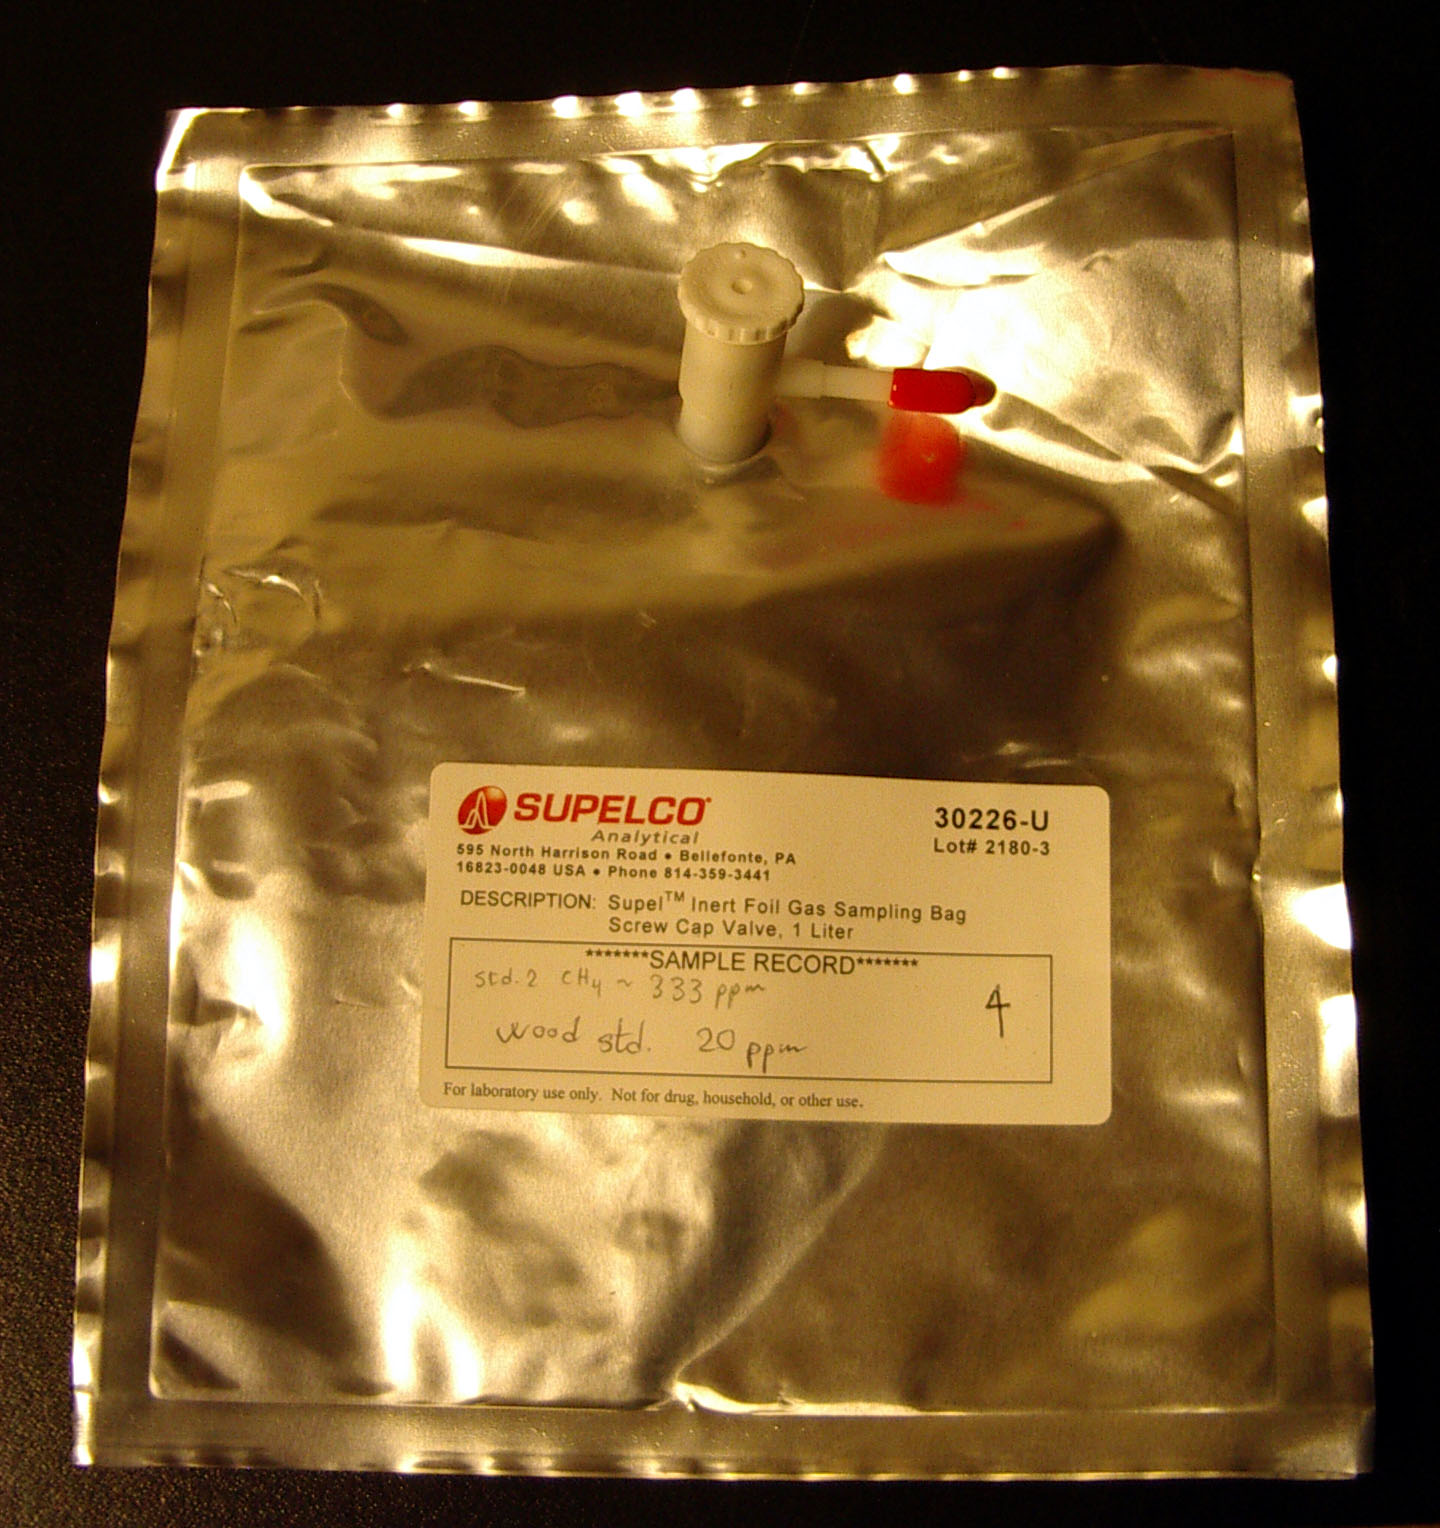
Gas bag for gas GC analysis
Preparation for Trace GC analysis
1. Gas samples collected in the field or in the lab can be injected into Exetainer vials or gas bags as shown above, or into another gas-tight container of your choice.
2. If using Exetainer vials, overpressure the vials by injecting a volume of sample gas that is up to two times the vial volume. This prevents outside atmospheric gases from entering the vials.
3. Vials can be stored (septum end down in water) for a couple of weeks prior to analysis. Gas bags can hold gas for 48 hours. The sooner an analysis can be scheduled after gas collection, the better, therefore, proper coordination for instrument time is required.
For analysis, up to 2.5 mL of gas is manually injected into the GC inlet using a syringe with a removable needle. A typical greenhouse gas sample run is 4 minutes in duration.